What is Automated Visual Testing: Types & Examples
Have you clicked on a website only to find overlapping text or images that won't load? These and many other visual defects can ruin user experience instantly. Applications grow more complex while development cycles get shorter. Manual visual checks alone can't keep up anymore. Automated visual testing offers a solution. This guide covers everything about automated visual testing, from the fundamentals to practical advice and actionable strategies to improve your visual testing approach.
Automated visual testing detects UI issues like misaligned elements, rendering problems, and responsive design failures. It compares screenshots against approved baseline images to catch problems that functional tests miss.
AI-powered visual testing achieves impressive accuracy rates. It outperforms traditional methods because it can distinguish between meaningful changes and irrelevant variations like dynamic content.
Organizations that implement automated visual testing typically see positive ROI within 6-12 months. Some show returns 26% to 51% through reduced manual testing costs and fewer production bugs.
Successful implementation requires the right tool, baseline images, CI/CD pipeline integration, and a clear review process for visual differences.
Visual testing works best when you start with critical user flows, use consistent test environments, and test at specific responsive breakpoints based on analytics data.
The interface components can behave differently across thousands of devices, screens, and browsers. That’s why testing whether a button works well in the code only is often different from the actual UI experience of users. Learn how automated visual testing helps spot defects that drive customers away 👇
What Is Automated Visual Testing?
Automated visual testing is an automated verification that your application’s user interface appears correctly to users.
Manual visual testing requires a human tester to inspect each screen. In the meantime, the automated procedure uses software to capture screenshots and compare them against approved baseline images.
The testing process follows a clear pattern. First, you establish baseline screenshots of your application in its correct visual state. Then, when you make code changes, the testing tool captures new screenshots. It compares them to these baselines and highlights any visual differences that might signal a regression. You’ll deepen into the automated testing procedure further in the article.
Another great thing about automated visual testing is that it catches issues that functional testing misses. Functional tests verify that buttons click and forms submit. They can’t tell if a CSS change pushed your “Buy Now” button off-screen on mobile devices. Visual automated testing catches these issues by comparing what users actually see.
The scope of visual testing covers more than simple pixel-perfect comparisons. Modern visual testing tools can detect various types of visual bugs including:
Text problems (font inconsistencies, truncated content)
Responsive design issues (elements that don’t adapt properly to different screen sizes)
Cross-browser inconsistencies (layouts that look different in Chrome vs. Safari)
As we move into the next section, you’ll explore the benefits that make automated visual testing worth the investment.
Benefits of Automated Visual Testing?
When you implement automated visual testing, you basically protect your UI against defects that might slip through regular QA. Traditional functional testing tells you, for example, if a button works. On the contrary, visual testing validates that the button is visible, properly styled, and positioned correctly on the screen.
Let’s explore the key benefits that make automated visual testing helpful in modern testing strategies:
Higher detection accuracy: Automated tools catch pixel-level changes that QA specialists might miss, achieving up to 90% higher defect detection rates compared to manual testing.
Reduced testing time: Testing across multiple browser/device combinations happens in parallel rather than sequentially, cutting testing cycles by up to 75%.
Lower maintenance costs: Early bug detection means fewer visual defects reach production, reducing emergency fixes and customer complaints.
Improved collaboration: Visual differences provide clear, objective evidence of UI issues that developers, designers, and QA can discuss together.
Consistent brand identity: Ensures visual elements remain consistent with brand guidelines across all parts of your application.
Confidence in UI changes: Developers can refactor CSS or update components knowing that visual tests will catch any unintended consequences.
Perhaps most importantly, automated visual testing increases overall confidence in your release process. Teams can deploy more frequently with the knowledge that visual regressions will be caught before reaching users. This confidence is especially valuable in organizations practicing continuous delivery, where release cycles might happen daily or even multiple times per day.
The ROI speaks for itself. Organizations that use automated visual testing tools typically see positive returns within 6-12 months. Some research reports ROI improvements ranging from 26% to 51% for test automation in surveyed organizations.
While comparison tools that inspect designs pixel by pixel can catch some UI defects, they’re just one piece of the QA testing puzzle. aqua cloud, as a complete test management solution integrates with your visual testing workflow. With aqua’s unified test repository, you can organize your visual tests alongside functional tests. Our Chrome extension “Capture” automatically records screenshots and videos during test execution. You can annotate and document visual issues with precision. For teams working with browser automation frameworks like Selenium, Playwright, or Cypress, aqua provides native integrations. But what sets aqua apart is our domain-trained AI Copilot, which helps generate test cases for UI scenarios. Unlike generic AI tools, aqua’s AI understands your specific testing context. Beyond test management, aqua supports Jira, Azure DevOps, and Confluence, as well as detailed audit trails for compliance.
Achieve 100% traceability and AI-powered efficiency across your entire testing ecosystem with aqua
Now that we’ve covered the compelling benefits, let’s explore the different types of visual testing approaches available to determine which might best suit your specific needs.
Types of Visual Testing
Over the past several years, visual testing tools have moved from simple screenshot comparison to AI systems. As for the exact methodologies of visual testing, they depend on your application’s complexity and the precision you need. It’s also worth considering your tolerance for false positives, i.e., tests that incorrectly flag differences when no real issue exists.
Let’s break down the main types of visual testing to help you understand the options:
Pixel-by-pixel comparison is the most straightforward approach. It captures screenshots of your application and compares them at the individual pixel level against baseline images. This method excels at precision, as even a single pixel change will be detected. The main limitation is extreme sensitivity to tiny rendering variations like anti-aliasing or font differences, which trigger false positives and can create alert fatigue.
DOM-based comparison examines the page structure rather than its pixels. It identifies changes in layout and structure while generating fewer false positives from rendering variations. However, it might miss visual issues that don’t affect the DOM structure, such as image file changes that keep the same filename and dimensions.
Layout comparison focuses on element positioning and arrangement rather than exact pixel values. It measures dimensions, spacing, and relative positions to verify layouts maintain their intended structure. This approach catches significant layout breaks while tolerating minor rendering differences, making it valuable for responsive design testing across different screen sizes.
Component comparison tests individual UI components rather than entire pages. This approach creates reusable visual tests for component-based architectures like React or Vue. It significantly reduces maintenance overhead since one component test validates multiple instances across your application. However, it requires a component-based architecture and won’t catch integration issues.
AI-powered visual testing represents the most advanced approach, using machine learning and computer vision to understand and interpret visual content similarly to humans. Instead of comparing individual pixels, AI visual solutions identify visual elements, understand context, and distinguish between meaningful changes and irrelevant variations. It’s worth noting that this method is dependent on the AI tool, so it’s important to choose your solution vendor carefully.
If I were using a visual test tool, I'd love Easy navigation and drag-and-drop functionality for creating and editing tests, Instant results or logs when running tests so I can quickly spot issues, Visual comparison for UI tests to easily spot differences, Version control integration for test files (helps in team settings), AI suggestions for generating tests based on app behavior or common workflows like I do
Many teams start with simpler pixel comparison for critical components and gradually expand to more advanced AI testing as they scale their visual testing strategy. Now that you understand the various types of visual testing, let’s move on to the very process of automated testing implementation.
How to Implement Automated Visual Testing
Implementing automated visual testing into your development workflow is hardly the most complex dev task. However, like most automated procedures, automated visual field testing demands structure and precision when organizing the process. Here’s a step-by-step guide to help you successfully integrate visual testing into your existing QA system.
Step 1: Select the right tool
Choose a visual testing tool that aligns with your team’s needs, existing technology stack, and budget. Consider factors like:
Integration with your current testing frameworks (Selenium, Cypress, Playwright, etc.)
Support for the browsers and devices your users actually use
Ability to handle dynamic content in your application
Pricing model and how it scales with your usage
Popular options include Applitools, which uses AI visual comparison, Percy by BrowserStack, known for its simple integration, and Chromatic, which has library testing with Storybook.
We’ve used Percy in the past, it integrates well with Cypress and with most existing test automation frameworks. I’ve found that Percy works pretty well with responsive design checks as it’ll help capture screenshots across different screens and devices.
Once you’ve selected your tool, the next step is creating baseline images – the “known good” version of your UI that future comparisons will use as reference:
Identify key pages and components to test
Configure your testing environment for consistency
Run your visual tests to capture baseline screenshots
Review baselines carefully to confirm that they accurately represent the correct UI state
Commit these baselines to your repository so they’re available to all team members
Step 3: Write your first visual tests
With baselines established, it’s time to write the actual test code. Most visual testing tools integrate with existing testing frameworks, allowing you to add visual assertions to your current tests. Here’s a simplified example suited for Cypress with Applitools:
For maximum benefit, integrate your visual tests into your continuous integration pipeline:
Add visual testing to your CI/CD configuration (GitHub Actions, Jenkins, CircleCI, etc.)
Configure tests to run automatically on pull requests
Set up notification systems for visual differences
Establish a review process for detected changes
Step 5: Establish a review and approval workflow
When visual differences are detected, you need a clear process for reviewing and handling them:
Configure your tool to notify the relevant team members when differences are detected
Review changes to determine if they’re intentional or bugs
For intentional changes, update the baselines to reflect the new expected state
For bugs, create issues and assign them to the appropriate team member
Step 6: Monitor and optimize
As with any testing strategy, continuous improvement is key. Here are some important suggestions on that regard:
Track false positive rates and adjust thresholds or ignore regions accordingly
Monitor test execution times and optimize for speed
Gradually expand coverage to more pages and components
Regularly review and update baselines as your UI evolves
Remember that successful implementation doesn’t happen overnight. Start small with critical user flows, learn from the process, and gradually expand your coverage as your team gains confidence in the approach.
By following these steps, you’ll be well on your way to catching visual regressions before they reach your users. Next, let’s explore best practices to maximize the effectiveness of your visual testing efforts.
Best Practices of Automated Visual Testing
The difference between struggling with visual testing and having a smooth, efficient process often comes down to proven practices. Teams that utilize automated visual testing regularly find that it becomes a valuable part of their QA process without creating a maintenance burden. Here are some of the top tips and insights we’ve gathered on automated visual testing:
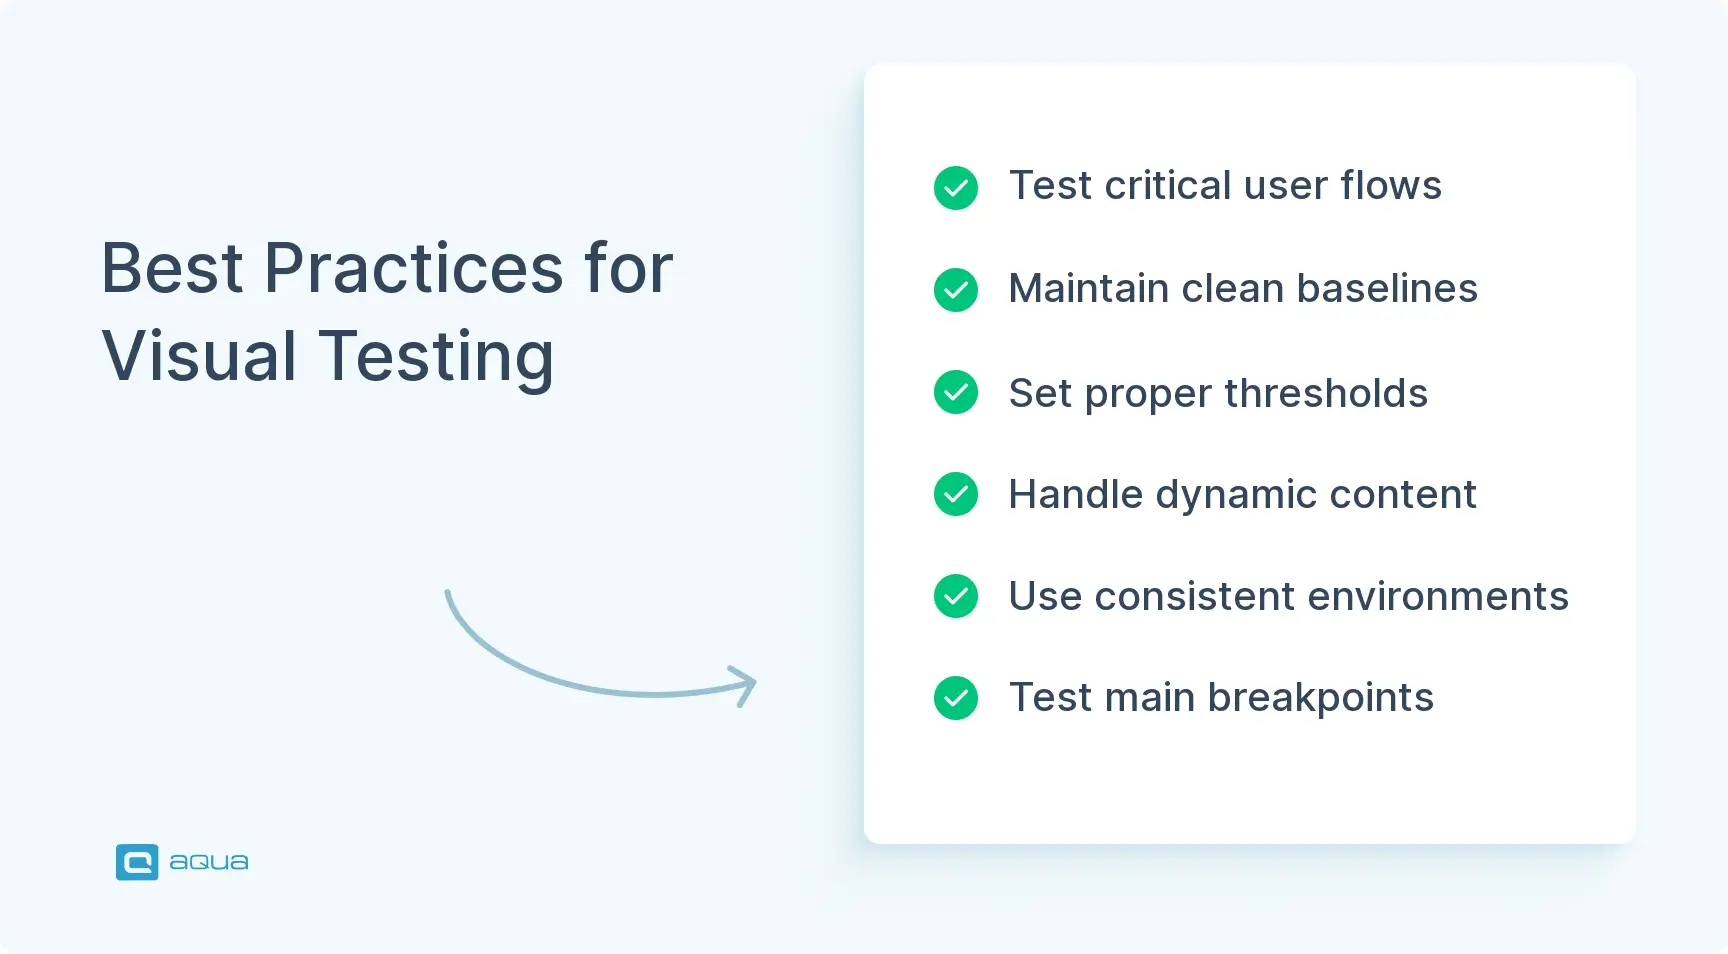
Start with critical paths: Begin by testing your most important user journeys before expanding to less critical areas. Focus on the flows that matter most to your business and users first.
Maintain clean baseline images: Keep your reference screenshots up-to-date and accurate. Schedule regular baseline reviews as part of your development cycle, ideally at the end of each sprint. This prevents outdated references from accumulating and triggering false positives.
Set appropriate thresholds: Configure tolerance levels for acceptable differences before tests fail. Start with conservative thresholds and adjust based on your application’s needs. Marketing pages might need near-zero tolerance, while data-heavy dashboards can use slightly higher thresholds to reduce false positives.
Handle dynamic content properly: Configure “ignore regions” around elements that change frequently, like dates, user-specific data, or third-party advertisements. Use tools with smart comparison algorithms that can recognize and accommodate dynamic content automatically.
Use consistent test environments: Run tests in containerized environments (like Docker) to eliminate variables that can cause inconsistent rendering. Consistency in your test environment is important for reliable results.
Test responsive breakpoints: Define key viewport sizes based on your analytics data and test at these specific dimensions. Don’t test every possible width. Focus on the breakpoints your users actually use instead.
Optimize test execution: Implement parallel execution to run tests across multiple browser/device combinations simultaneously. This speeds up your testing process significantly.
Maintain a visual regression history: Keep a record of visual changes over time to track UI evolution and identify patterns. This historical data helps you understand how your interface evolves.
Train your team: Make sure that everyone understands the purpose and process of visual testing to get maximum buy-in. When the whole team understands the value, adoption becomes much easier.
Remember that collaboration between development and design teams is needed for successful visual testing. When visual differences are detected, both perspectives help determine to what extent changes can be considered defects and how to approach them further. Some teams integrate visual testing results directly into design tools like Figma. This creates a seamless feedback loop between implementation and design.
Now we can proceed with the review of automated visual testing works in example scenarios.
Automated Visual Testing Examples
Let’s look at several abstract examples of how automated visual testing solves real-world problems across different scenarios. These examples illustrate the usage of visual testing in catching issues that would otherwise slip through traditional testing methods.
Scenario 1: Cross-Browser Consistency Issues
Imagine you work on a banking application. Firefox users suddenly see a broken layout on the account summary page. Transaction details overlap and buttons sit in the wrong places. A CSS flexbox implementation renders differently across browsers. With automated visual testing, you catch this inconsistency before release. All customers see the same reliable interface regardless of their browser.
Scenario 2: Internationalization and Localization Testing
Picture yourself managing a healthcare patient portal. Medical charts and automated visual field test results must display correctly across all devices. If data renders incorrectly, it could lead to serious medical errors. With automated visual testing, you verify that every piece of medical information appears accurately everywhere. You maintain patient safety and meet regulatory compliance.
Scenario 3: Responsive Design Verification
Imagine you run a travel booking website. An advertising banner pushes your “Book Now” button off-screen on certain mobile devices. Users can’t complete purchases. Conversions drop. With responsive visual testing, you detect this layout issue across all breakpoints before launch. You prevent lost revenue and can improve your mobile conversion rate by up to 25%.
These examples demonstrate how automated visual testing finds issues across various dimensions:
Cross-browser and cross-device consistency
Responsive design verification
Font loading and rendering
Color scheme variations (light/dark mode)
Internationalization and localization
Offline experiences
Animation and transition states
The key takeaway is that visual testing catches issues that impact the user experience in subtle but important ways. While functional tests verify that your application works, visual tests make sure it delivers the experience you intended across all environments.
Visual testing is undoubtedly important for the entire QA process. And its impact only increases when you integrate it into a dedicated test management framework such as aqua cloud. The platform’s integration options let you incorporate results from visual regression tools into your overall quality reporting. What truly transforms your visual testing workflow is aqua’s domain-trained AI Copilot. It learns from your project’s own documentation to generate relevant visual test cases. This means your AI is creating project-specific visual testing strategies grounded in your actual application context. Combined with aqua’s capabilities to centralize QA, you can catch visual defects earlier and manage them more effectively throughout your development lifecycle. Our native integrations with Jira, Confluence, and Azure DevOps facilitate your documentation flow, while connections to automation frameworks like Selenium, Jenkins, and Ranorex let you execute automated tests easily.
Save up to 80% of time spent on testing with an AI-powered platform that understands your visual testing needs
User expectations continue to rise. That’s exactly why visual perfection has become a competitive advantage. The value of automated visual testing lies in catching issues that slip through conventional testing methods. From subtle layout shifts to major cross-browser inconsistencies, visual testing provides an additional quality assurance layer that directly impacts user experience. Using platforms with AI capabilities, you can expect visual testing to become even more intelligent and efficient. At the end, the question isn’t whether you can afford to implement automated visual testing. It’s whether you can afford not to.
Visual AI testing uses artificial intelligence and machine learning to compare visual aspects of applications, similarly to how humans perceive interfaces. Unlike traditional pixel-by-pixel comparisons, visual AI understands context. It recognizes UI components and can distinguish between meaningful changes and irrelevant variations. This approach notably reduces false positives. Visual AI testing can handle dynamic content and accommodate visual variations across browsers. It continuously improves its accuracy over time as it learns from more examples.
What is automated visual regression testing?
Automated visual regression testing is a specific type of visual testing. It focuses on detecting unintended visual changes (regressions) introduced by new code changes. It works by capturing screenshots of an application before and after changes are made, then comparing them to identify differences. The goal is to ensure that new development work doesn’t inadvertently break or alter the existing user interface.
What is an automated visual field test?
In the context of software testing, an automated visual field test examines how visual elements appear across the entire viewable area or “field” of an application. This approach tests all visual aspects visible to users. This includes layout, colors, typography, spacing, and component rendering. Unlike targeted component testing, field testing examines the complete user interface as experienced by end users.
Join our community of enthusiastic experts! Get new posts from the aqua blog directly in your inbox. QA trends, community discussion overviews, insightful tips — you’ll love it!
We're committed to your privacy. Aqua uses the information you provide to us to contact you about our relevant content, products, and services. You may unsubscribe from these communications at any time. For more information, check out our Privacy policy.
X
🤖 Exciting new updates to aqua AI Assistant are now available! 🎉


 Bankingaqua ALM helps banks increase testing productivity by over 50%